Christmas light

My daughter Ingrid came home from school with this light she made at School. I thought this was lovely. Her teacher made a frame with the words" first school day" and each child held the frame in front of them and their photograph was taken. The photo was clipped out and placed inside a laminating sheet. The back was made by using coloured tissue paper.
Ingrid helped me make my lights so here goes:-
Things you will need:-
- Serviette
- Ribbon to match your picture 60 cm wide x 1,5 cm and 45 cm x 1,5 cm wide. You will need 2 of each sizes.
- 2 laminating sheets size A5.
- Scissors
- 1. glass
- Tea.light candle.
- Hole pinch
- Laminating machine.

First you need to cut your servitte into four but you will only use 2 pieces. Follow the crease lines whilst cutting The crease lines will disapear when it's put through the laminating machine. Please note that this light can also be seen from both sides so take this into consideration when choosing your pattern. .
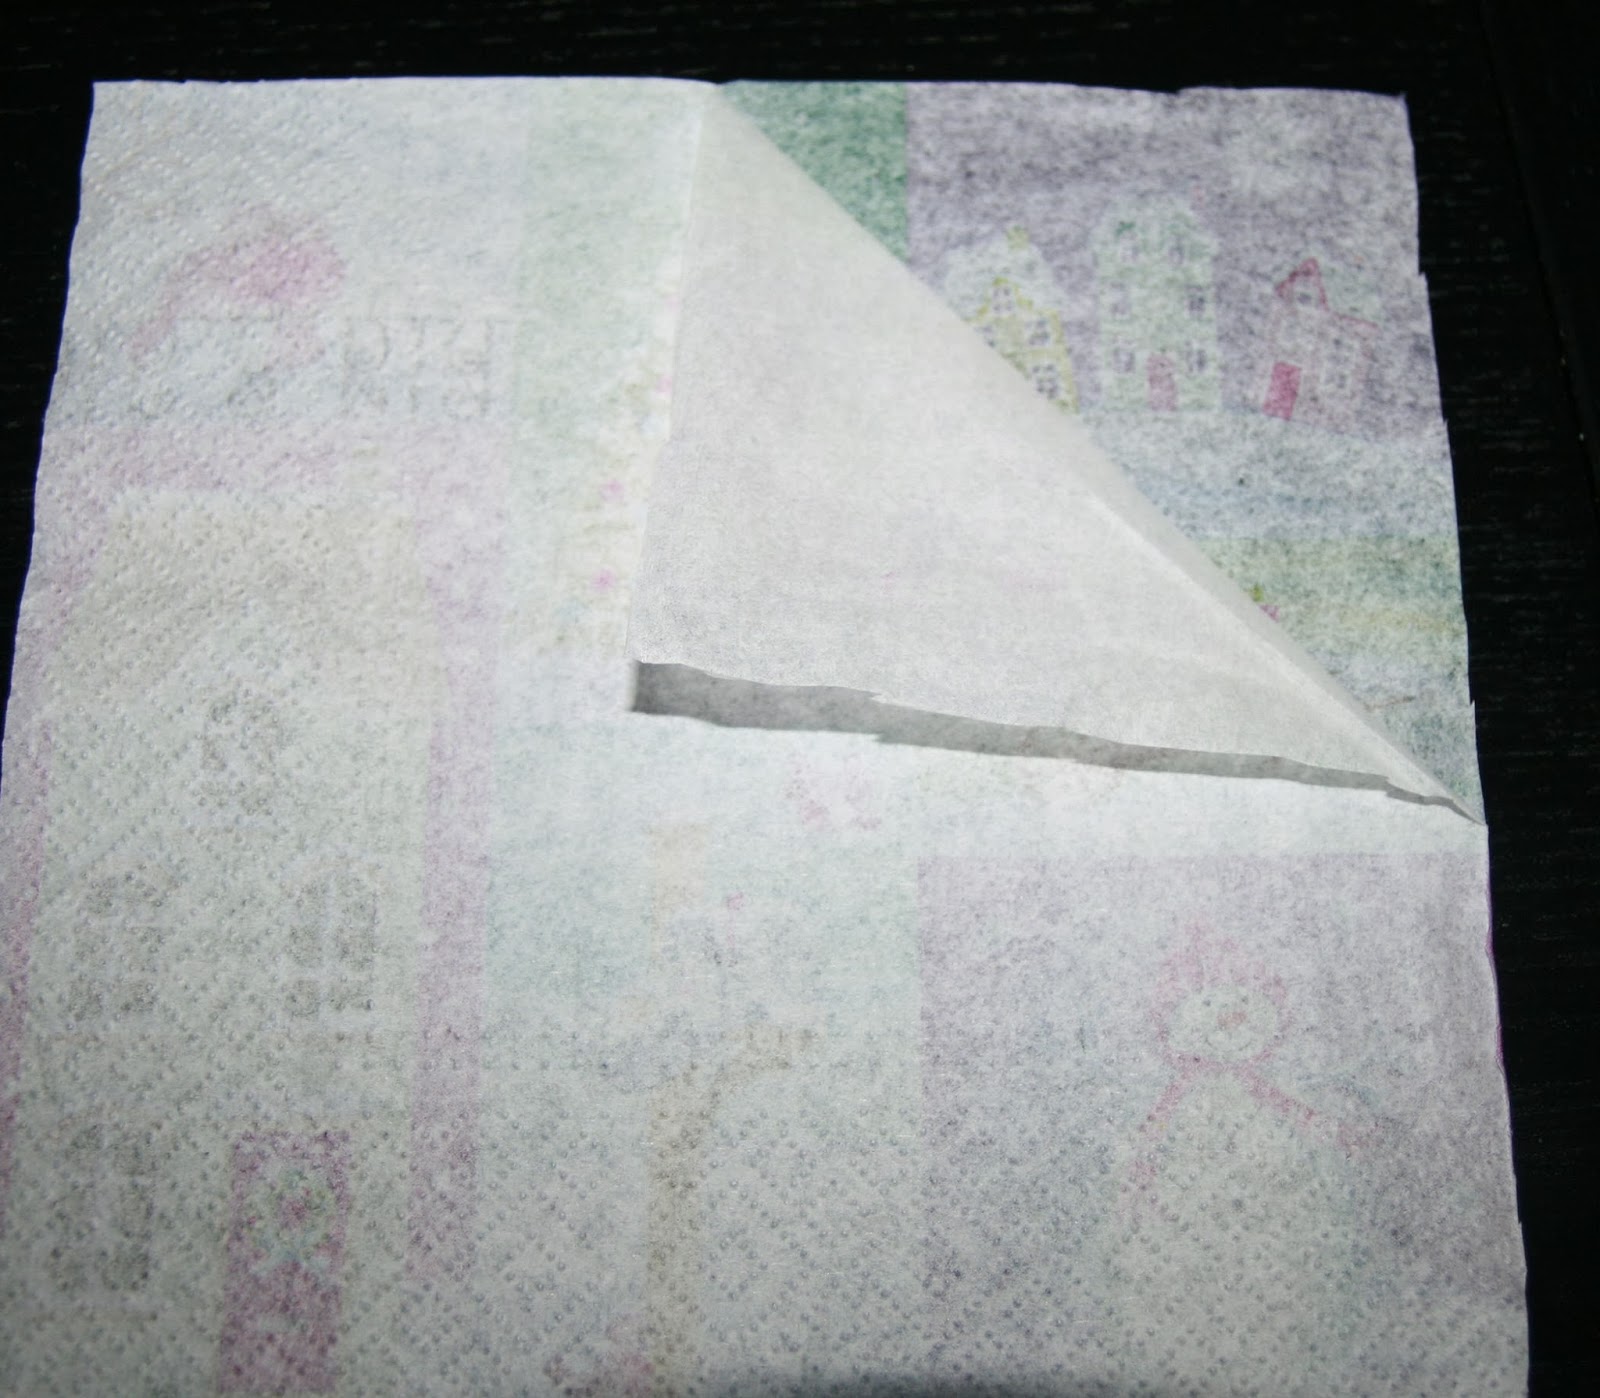
Next you will need to take away two layers ( usually serviettes have three layers ) The easiest way to do this is to hold one corner between your thunb and first finger and gently blow you should then be able to carefully remove the layers.
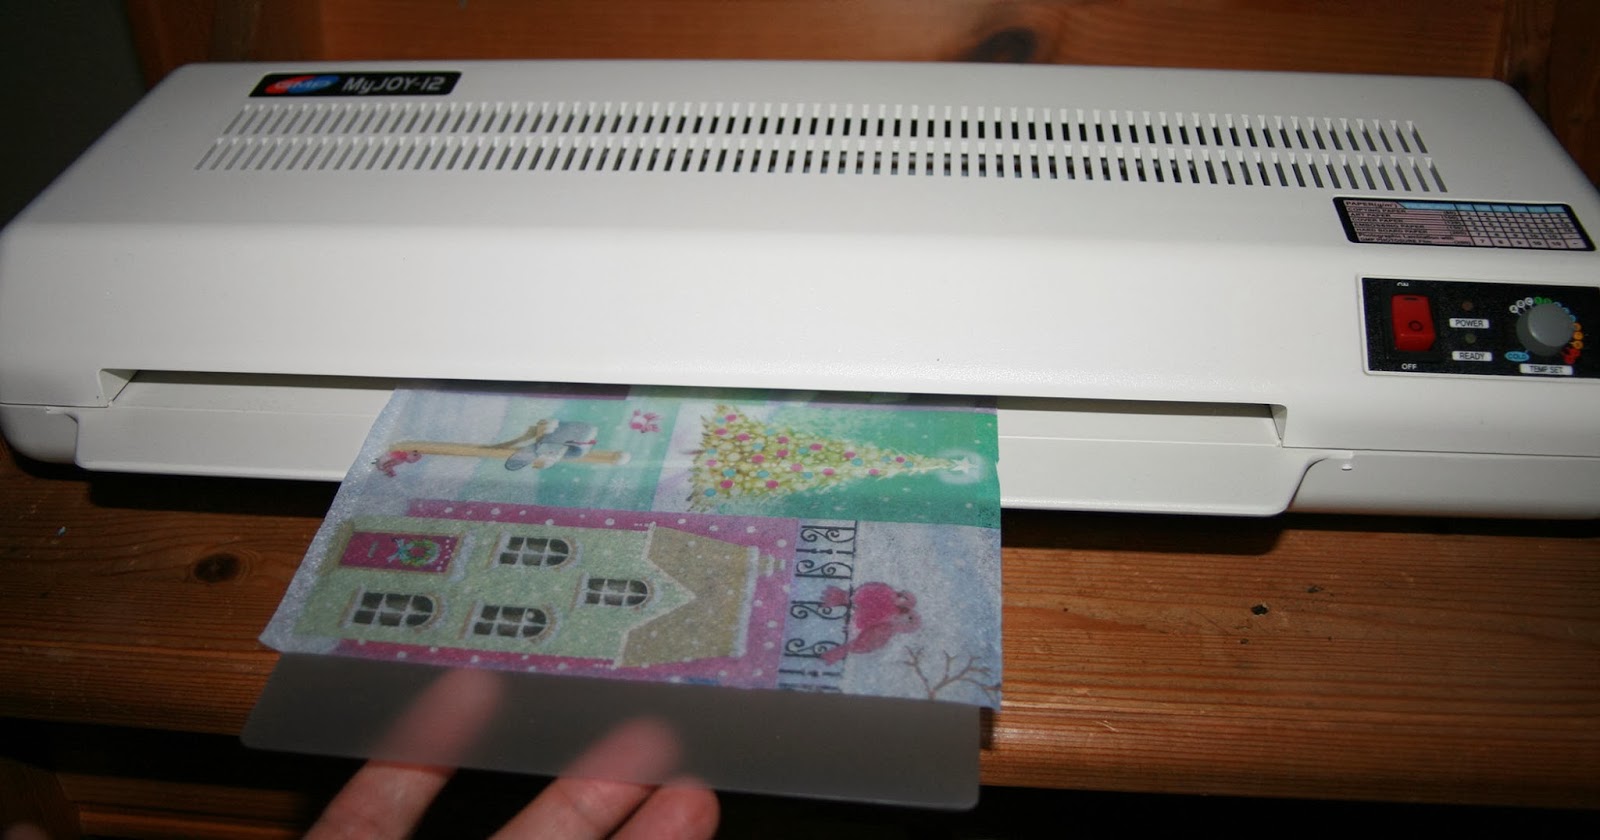
Now insert you laminating into your machine.

Using your laminating sheet as a guide cut the overlapping serviette away.

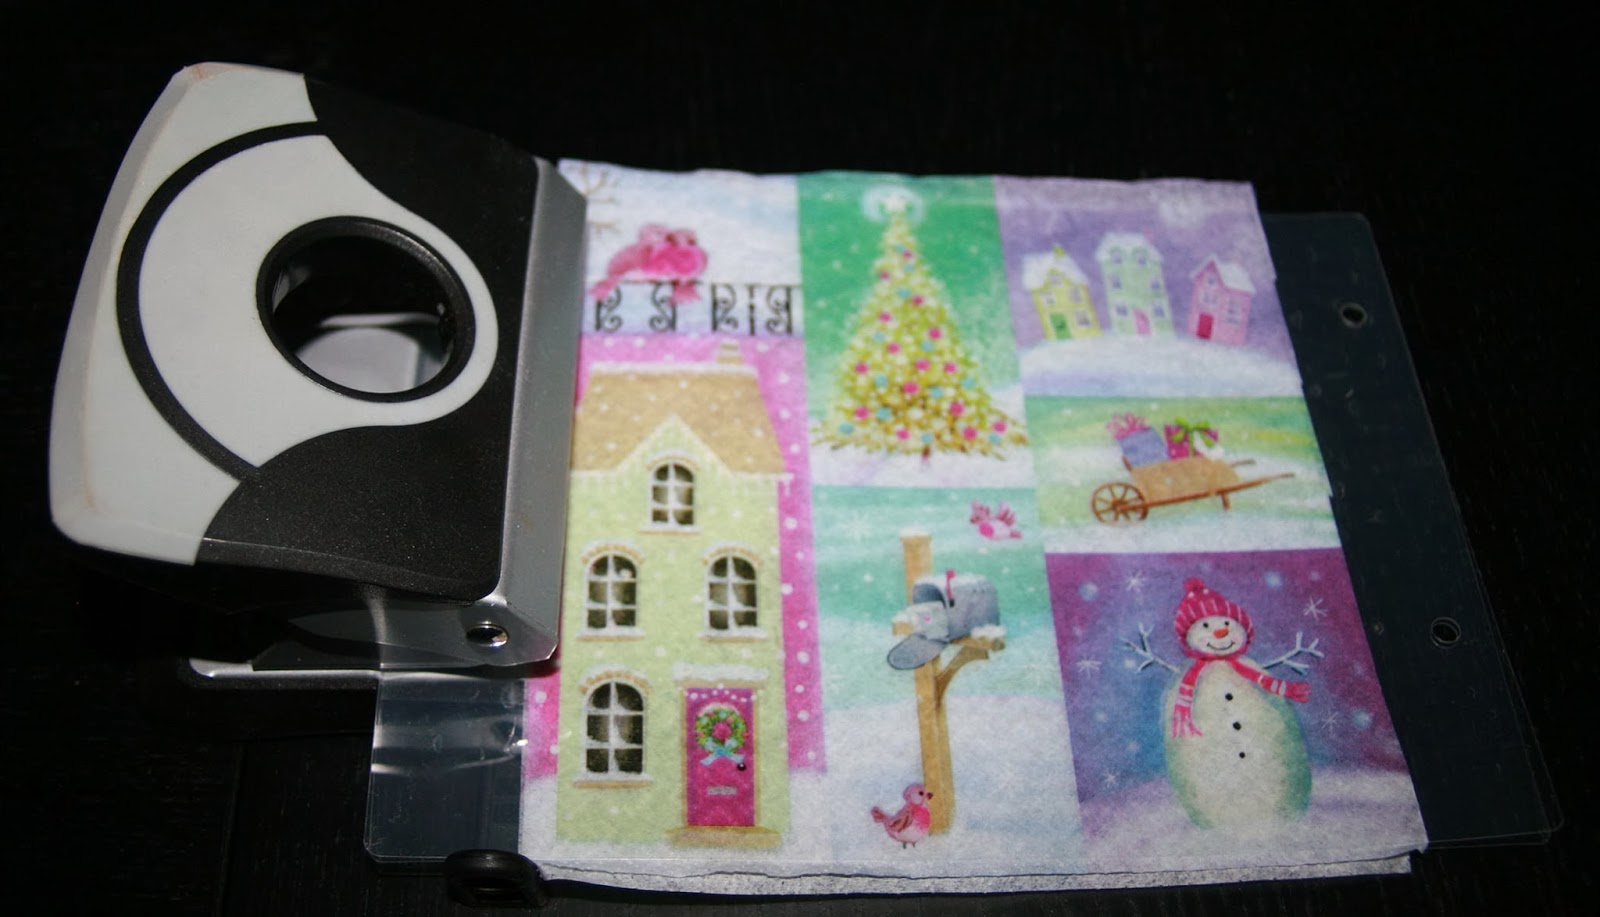
Using your hole punch, punch two holes making sure that both the sheets line up and that both the holes are the same on both sides, You can punch both sheets at the same time.
Now using the longest ribbon, put your two sheets together and thread your ribbon through your holes then tie a bow

Turn your work over and on the other side use your shortest ribbons and thread through the back of the ribbon and then tie a bow.

Now you will have bows on both sides front and back.

All you are left to do now is to insert your glass and your tea.light
Here I have made two lights. In Norway we light purple candles for each Advent in December. I usually make a display using four candles with decoration for our coffee table. We light the first candle on the first Advent then we light two candles on the second Advent and so on till we have lighted all four candles on the last Advent before Christmas. So these lights are cheap enough to use every night through til Christmas where on Christmas Eve we change Our candles to red.

Here are some lights I made for a Christening.

You can make these lights for a wedding, a birthday, a baby shower, an anniversary, the list is endless. what ever you decide to make your lights for have fun and enjoy the dark nights in front of Your lights.
TIPS
Most ribbons will fray on the edges if you make a straight cut.

To stop this from happening and to make your work look neat, fold your ribbon in half and hold it between your thumb and forefinger.

Then make a cut with sharp scissors towards your hand.

Open your ribbon and here you have a nice neat edge.

So next time you are out shopping take a look at serviettes and think LIGHTS............and of course dinner
No comments:
Post a Comment