Wednesday, 18 June 2014


                                   Wedding Cake Box


I would suggest that you read this post before you start to make Your card.

Materials you will  need :-

  1. 1. 30cm x 30cm ark of paper for the Box you will need extra for the lid.
  2. Paper to decorate
  3. Scor-pal
  4. cutting blade or scissors.
  5. Glue gun.
  6. Dies
  7. Compass
  8. Decorations of flowers and ribbon.

How to make:-

  • First cut Your paper to 30cm x 30cm. ( I use white card )


Then you need to score your paper every 10cm first from the top then turn and score from the sides.........as show by the red lines in the photo below.


Now you should score from corner to corner .......as shown by the green lines in the  photo below.


Your card should look like the photo below. The red lines show where you have now scored.


Now you need to cut you corners .......marked by the blue lines on the photo below


This is what is should look like once Your corners have been cut.

(Sorry it's a little hard to see where the score lines are)....shown in the photo below.


You are now ready to form the base of your box by folding all your score lines.
 
So now you have made your base it's time to make your lid.
 
Using the same type of paper or thin card you will need a piece measuring 14,8 cm by 14,8 cm.
 
Using Your scor-pal or bone folder score the first 2cm......as shown by the red lines on the photo below.
 
 
Now Clip the lines in the corners......as shown by the green lines in the photo below.


Your lid should look something like the above photo.


Now glue all the corners together. I use small pegs to keep them in Place whilst the glue is drying.........As shown in the photo below.


You now have your cake Box. All you have to do is now make your cake and decorate it.
 
For the cake you Will need:-
 
2 pieces of 30cm x 5 cm
1 piece of 24cm x 4cm
1 piece of 16cm x 3 cm.
As shown in the photo below
 
TIPS:- If you bend your card one side will bend much easier than the other side, have a play With Your paper before you cut it. It's much easier if you cut on the bendy side as you are going to wrap this card or paper around Your cake


Now score in at 0,5cm ( half a cm) on both sides of the strips.... NOTE only score on one side of the two largest strips. The photo below show scoring on both sides of all the strips but you only do this if you do not want a box under your cake.


Next you need to fold on your score lines. Again only on one side if you want to have a box under your cake.


Cut your folded lines as shown in the photo below. (Yes I have it right this time ).

Look at the photo below you will need:-
  • 2 x 4 inch circles.
  • 2 x 2 circles just a little smaller than your 4 inch circles ( this is going to be the base of your bottom layer) ( this is your box under the cake).
  • 3 x 3inch circles
  • 3x 2inch circles
  • The photo below says centimetres this is wrong it should read inches


Now take Your circle and Your strip and glue them together as shown in the photo below.
 
 
Once they are all glued then put glue another circle on top so that you hide all the edging........ As shown in the photo below.


Once you are happy glue the layers of Your cake together REMEMBERING that the one size smaller than the 4cm circle is glued to the Box base and then the rest of the cake just sits on top.


Now it's time to decorate your box..... as shown in the photo below.


 I have used my computer and printed out some sayings then used some dies to cut them out. I have then glued them inside the box.


Here you can see how the inside of your cake. Here I have written the bride and grooms names and the date of their wedding. You could also put money in here or a small gift as the cake sits on top of this box.


I used some mirror card and punched out these angels and I glued them inside the lid of the box.


Here is my lid after it has been decorated.


Now it's time to decorate Your cake. Here are some photo's to show you how I have decorated mine. NOTE:- There isn't a lot of Space to decorate the top of the cake because there is a very short gap between the cake and the lid............I first glued some lace to the layers of cake then I glued some silver band before I put the flowers on. As the lace was only one width I glued the lace on the the largest layer in the middle then then next layer I glued it from the top by the time I came to the top layer the lace covered all the sides


Here is my cake in the box.


                          Here are two lids that are decorated.


Finally here is my cake in the box. These are wedding cakes but of course you can make Your cake for any occasion.


Here I have made one in blue and green. They say that blue and green should never been seen, but we see these colours every day With mother nature. Besides these are my favourite colours.


TIPS:-
 
I never throw away the little wire stems on flowers. If you cut them off the flowers and twist them round a small knitting needle then slide them off, gently pull them apart a little and then you can use them in between flowers if you have any gaps.

 
Have fun in making your cake and of course decorating it.

Monday, 25 November 2013

Here is a site I have found which shows you the simple Tools on making a small bow


She shows you in a quick and simple way.

Sunday, 24 November 2013

Christmas light


 My daughter Ingrid came home from school with this light she made at School. I thought this was lovely. Her teacher made a frame with the words" first school day" and each child held the frame in front of them and their photograph was taken. The photo was clipped out and placed inside a laminating sheet.  The back was made by using coloured tissue paper.
 
 Ingrid helped me make my lights so here goes:-


Things you will need:-


  • Serviette
  • Ribbon to match your picture 60 cm wide x 1,5 cm and  45 cm x 1,5 cm wide. You will need 2 of each sizes.
  • 2 laminating sheets size A5.
  • Scissors
  • 1. glass
  • Tea.light candle.
  • Hole pinch
  • Laminating machine.


 First you need to cut your servitte into four but you will only  use 2 pieces. Follow the crease lines whilst cutting The crease lines will disapear when it's put through the laminating machine. Please note that this light can also be seen from both sides so take this into consideration when choosing your pattern. .
 
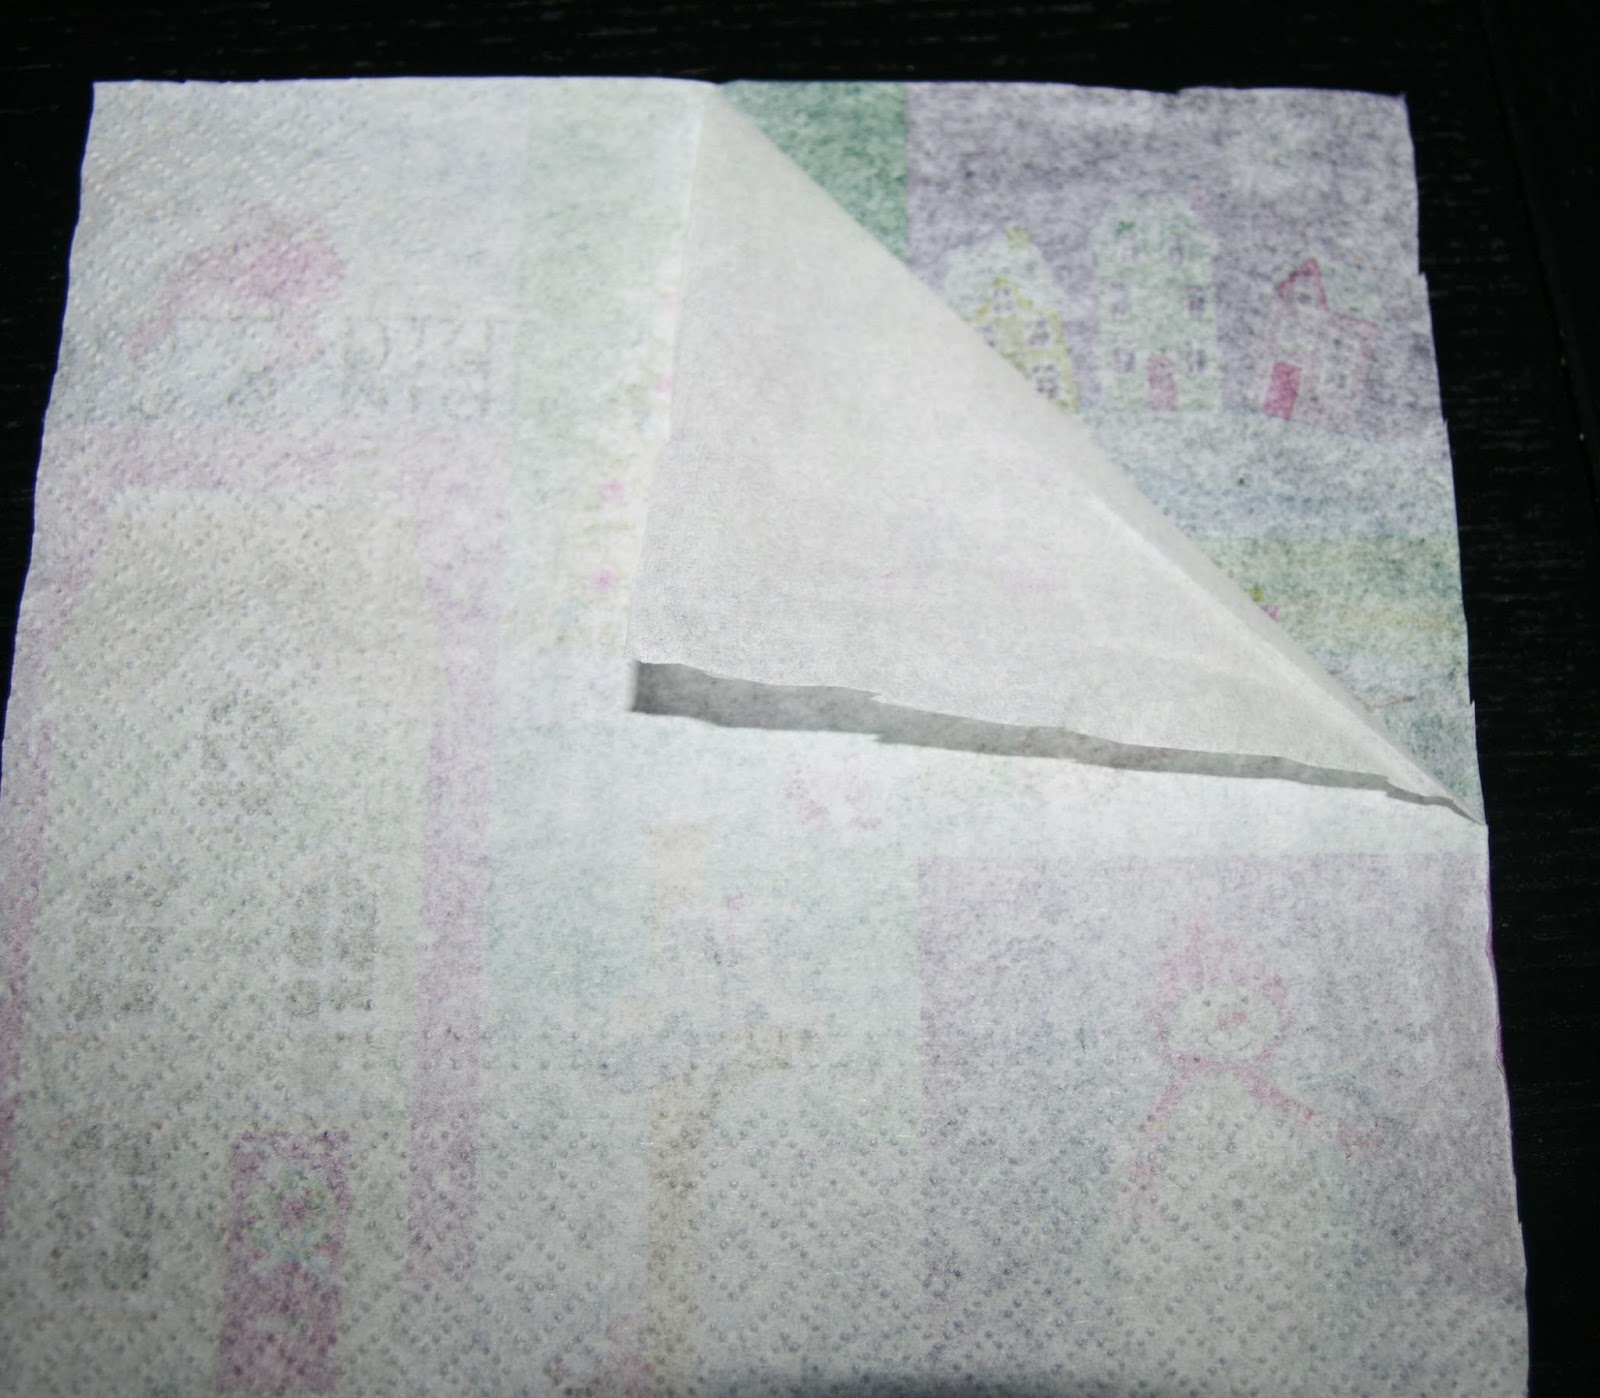
Next you will need to take away two layers ( usually serviettes have three layers ) The easiest way to do this is to hold one corner between your thunb and first finger and gently blow you should then be able to carefully remove the layers.


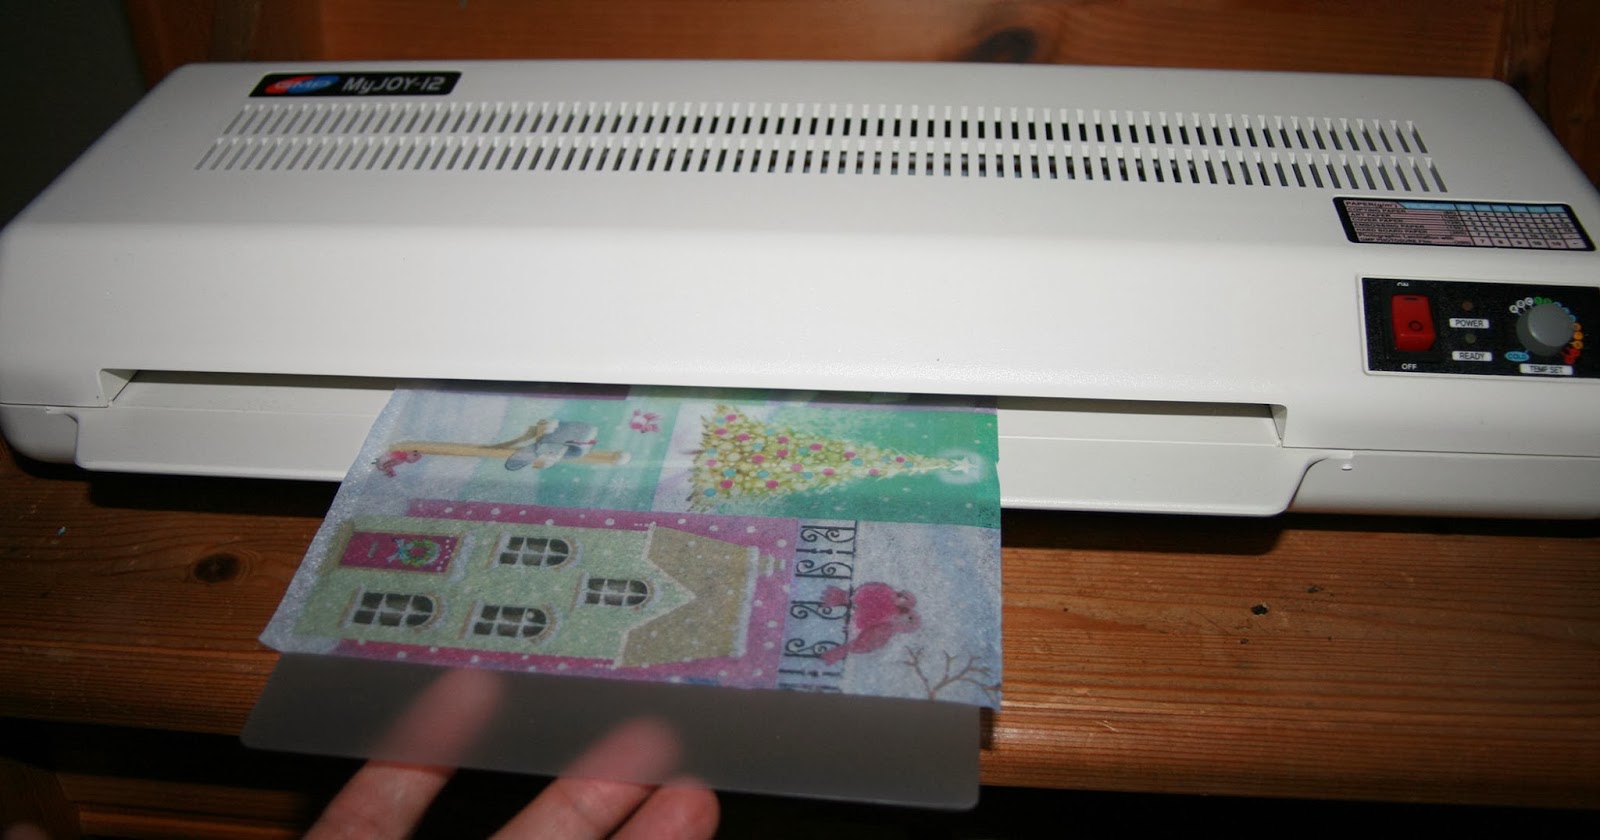
 Now insert your patterned serviette in between your laminating sheets, making sure that they both line up together With a gap on each side. If you insert your serviette right up to the top and bottom edge these sides wont come out sealed. If you have problems in cutting a straight line as I do then just insert your paper into the laminating sheet and cut it after it's been laminated then you will get Your straight line.


Now insert you laminating into your machine.


Using your laminating sheet as a guide cut the overlapping serviette away.


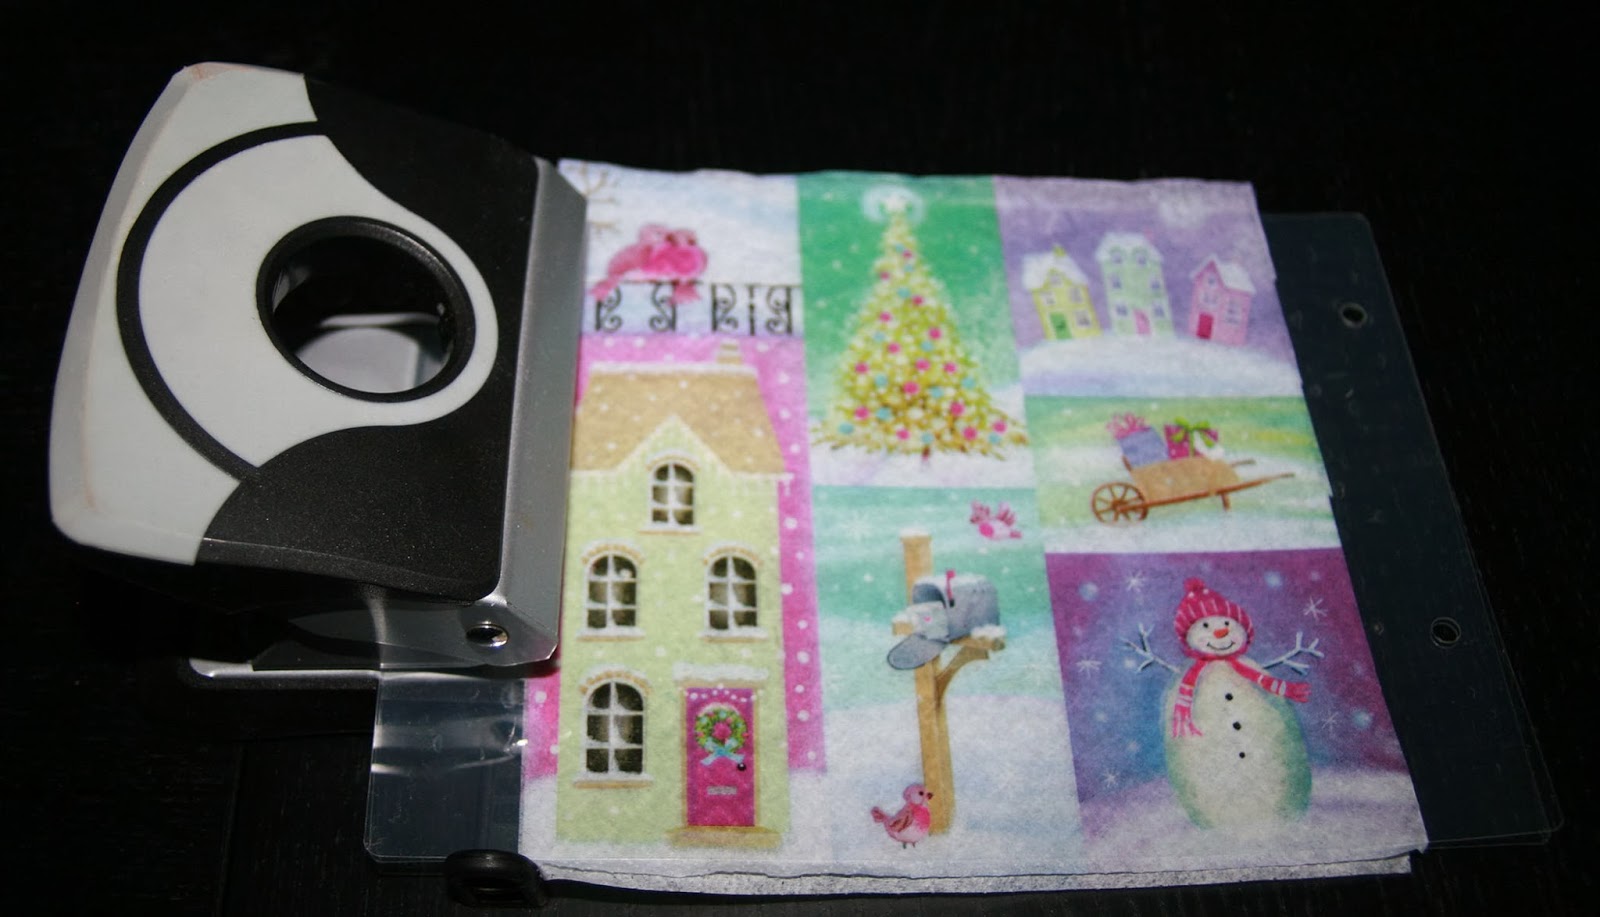
Using your hole punch,  punch two holes making sure that both the sheets line up and that both the holes are the same on both sides, You can punch both sheets at the same time.


Now using the longest ribbon, put your two sheets together and thread your ribbon through your holes then tie a bow


Turn your work over and on the other side use your shortest ribbons and thread through the back of the ribbon and then tie a bow.


Now you will have bows on both sides front and back.


All you are left to do now is to insert your glass and your tea.light
 
Here I have made two lights. In Norway we light purple candles for each Advent in December. I usually make a display using four candles with decoration for our coffee table. We light the first candle on the first Advent then we light two candles on the second Advent and so on till we have lighted all four candles on the last Advent before Christmas.  So these  lights are cheap enough to use every night through til Christmas where on Christmas Eve we change Our candles to red.


Here are some lights I made for a Christening.


You can make these lights for a wedding, a birthday, a baby shower, an anniversary, the list is endless. what ever you decide to make your lights for have fun and enjoy the dark nights in front of Your lights.
 
 
TIPS
 
 
Most ribbons will fray on the edges if you make a straight cut.


To stop this from happening and to make your work look neat, fold your ribbon in half and hold it between your thumb and forefinger.


Then make a cut with sharp scissors towards your hand.


Open your ribbon and here you have a nice neat edge.


So next time you are out shopping take a look at serviettes and think LIGHTS............and of course dinner
 
So Christmas is just around the corner, and I have packed in some chocolate for Ingrid's Teachers.
Here is what you need:-
  • A bar of chocolate (mine is 3inches x 10,5 inches long).
  • Card measuring 11inches x 8 inches I used white card).
  • Card measuring 11 inches x 2,3/4 inches.
  • Extra white card for Your wings and star
  • Brown card for Your star
  • Ink ( I used versafine Vintage Sepia ).
  • Inking tool ( or you can use a sponge).
  • Ribbon measuring 24 inches x 1/2 inch wide.
  • Tape runner or double sided tape.
  • Glue pen.
  • Glitter.
  • Stamp and stamping Block.
  • Tim Holtz layered wings die.
  • Big shot.
  • Small fir cones ( I found mine in the Woods but I'm sure you can buy them or make Your own from paper, maybe using a Timy Holtz die.
  • Star dies ( or you can cut by hand ).
  • Christmas picture.
  • Small angel.
  • foam stickers.
 
Here is my chocolate bar


First take your card measuring 11 inches x 8 inches and score at 2 inch.....then 2,5 inch......then at 5,5 inch and then at 6 inch.


   Now ink all your edges.


Take your ribbon and glue it it to your card in the centre along 4 panels leaving the last panel free.


Now taking Your 11 inches x 2,3/4 inches card ink all edges


Then attach the panel to your card in the middle.


Now take your angel and add some extra wings using Your Tim Holtz layered wings. I used to two smallest wings. Ink the edges and then using Your glue pen dab a little ink around the wings and add glitter. I also used a dab of glue pen on the angel it self and added a little glitter.


I then stamped a Christmas stamp on to white card and cut it out using dies. Of course you could do this with scissors. Then attach Your star to a Brown star.


I then printed a Picture from the Internet and I highlighted it With my glue pen and glitter.


Now it's time to stamp and cut out. Here my stamp says" Christmas Greetings to you and Yours". Once you have finished turn it over and add some foam stickers to the back.


 I glued  my angel to the card panel and I glued two small pine cones to show that she is leaning on them.


  I then added my star underneath the angel, Put my Christmas Message on and then I added my Christmas scene. The last thing to do is insert your chocolate and tie your ribbon.


Tips
 
To make sure your cut is straight whilst using your dies use a small piece of invisible tape to attach Your die to Your card. Slowly peel away and no paper should tear and you will have a nice and neat die cut.